
Ingredients and preparation
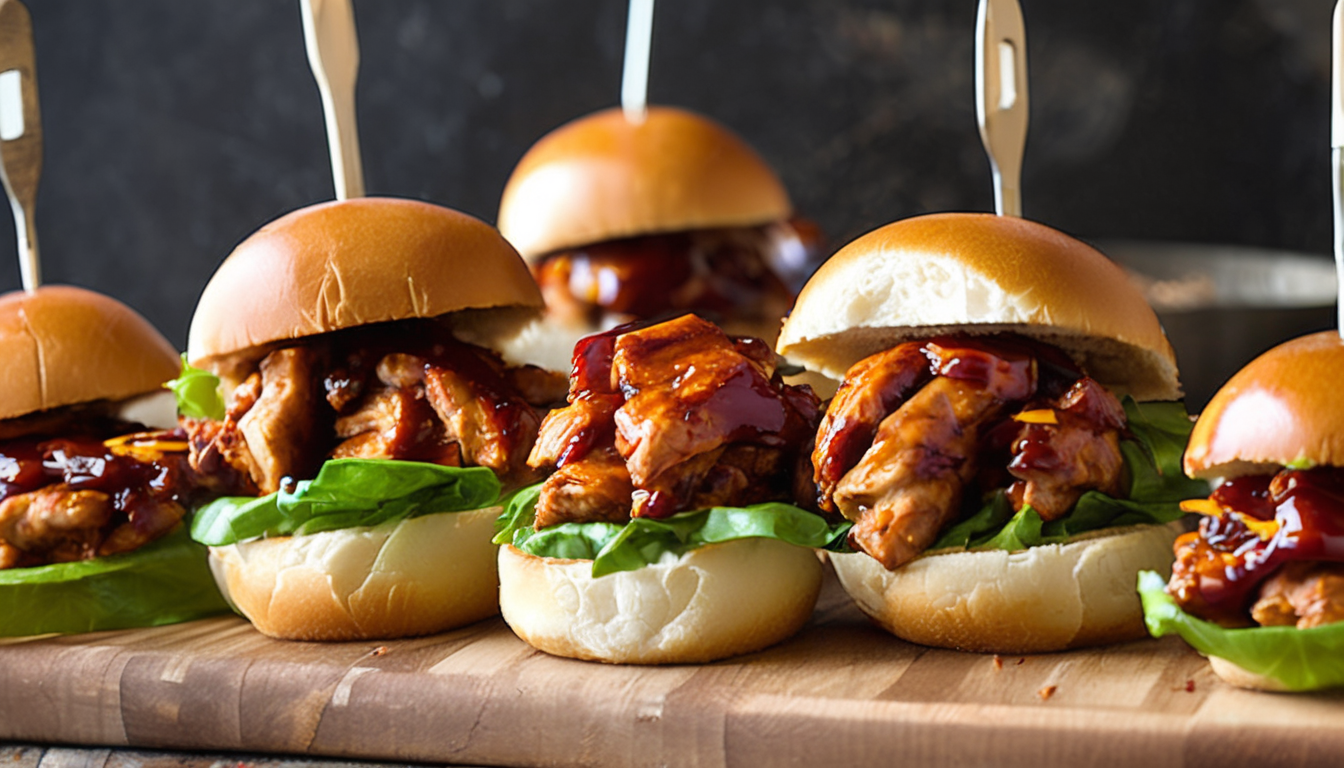
These BBQ Chicken Sliders are a flavorful and satisfying option for casual gatherings, game day snacks, or a quick weeknight dinner. The combination of tender shredded chicken, tangy barbecue sauce, and soft slider buns makes them a crowd-pleaser. Below is a list of ingredients you’ll need to prepare the sliders, along with preparation tips to ensure the best results.
- 2 cups cooked, shredded chicken – Rotisserie chicken works well for convenience, or you can poach or roast chicken breasts and shred them once cooled.
- 1 cup barbecue sauce – Choose your favorite brand or homemade version; smoky or sweet varieties both work great.
- 12 slider buns – Soft Hawaiian rolls or mini brioche buns are ideal for their slightly sweet flavor and pillowy texture.
- 1 cup shredded mozzarella or cheddar cheese – Adds a creamy, melty layer to the sliders; feel free to mix cheeses for extra flavor.
- 2 tablespoons unsalted butter, melted – For brushing the tops of the buns before baking.
- 1 teaspoon garlic powder – Mixed with the melted butter for added flavor.
- 1 tablespoon chopped fresh parsley (optional) – For garnish after baking.
Preparation Tips:
- To shred chicken easily, use two forks or a stand mixer with a paddle attachment while the chicken is still warm.
- Mix the shredded chicken with barbecue sauce in a bowl until evenly coated. Let it sit for 10–15 minutes to absorb the flavor.
- Slice the slider buns horizontally as a whole (keeping the tops and bottoms connected) for easier assembly and baking.
- Preheat your oven to 350°F (175°C) before assembling the sliders to ensure even cooking.
Cooking instructions
Begin by placing the bottom halves of the slider buns in a lightly greased 9×13-inch baking dish or on a parchment-lined baking sheet. Spread the BBQ chicken mixture evenly over the buns, making sure each bun gets a generous amount of the saucy chicken. Sprinkle the shredded cheese evenly over the chicken layer, ensuring full coverage for a gooey, melty finish.
Carefully place the top halves of the buns over the cheese layer to complete the sliders. In a small bowl, combine the melted butter and garlic powder. Brush this mixture generously over the tops of the buns to add flavor and help them toast to a golden brown in the oven.
Cover the baking dish loosely with aluminum foil and bake in the preheated oven for 10 minutes. This allows the cheese to melt and the sliders to heat through without over-toasting the buns. After 10 minutes, remove the foil and continue baking for an additional 5–7 minutes, or until the tops of the buns are golden and slightly crisp.
Once baked, remove the sliders from the oven and let them rest for 2–3 minutes. If desired, sprinkle chopped fresh parsley over the tops for a pop of color and freshness. Use a sharp knife or spatula to separate and serve the sliders while warm.
Serving suggestions and variations
These BBQ Chicken Sliders are incredibly versatile and can be served in a variety of ways to suit different occasions and preferences. For casual gatherings or game day spreads, arrange the sliders on a large platter with a side of pickles, coleslaw, or potato chips for a classic comfort food experience. They also pair well with a crisp green salad or roasted vegetables for a more balanced meal.
To elevate the presentation, consider serving the sliders with small ramekins of extra barbecue sauce or a creamy ranch dressing for dipping. For a spicy twist, add a few slices of pickled jalapeños or a drizzle of hot sauce before baking. You can also mix in caramelized onions or sautéed bell peppers with the chicken for added depth of flavor.
For a fun variation, try using different types of cheese such as pepper jack for a kick, or smoked gouda for a rich, smoky flavor. If you’re catering to a crowd with dietary preferences, offer a few sliders made with plant-based chicken alternatives and dairy-free cheese to accommodate everyone.
These sliders are also great for meal prep. Simply assemble and bake them ahead of time, then reheat in the oven at 300°F (150°C) for 10–12 minutes until warmed through. They can be stored in an airtight container in the refrigerator for up to 3 days, making them a convenient option for quick lunches or dinners throughout the week.